Git Conflicts
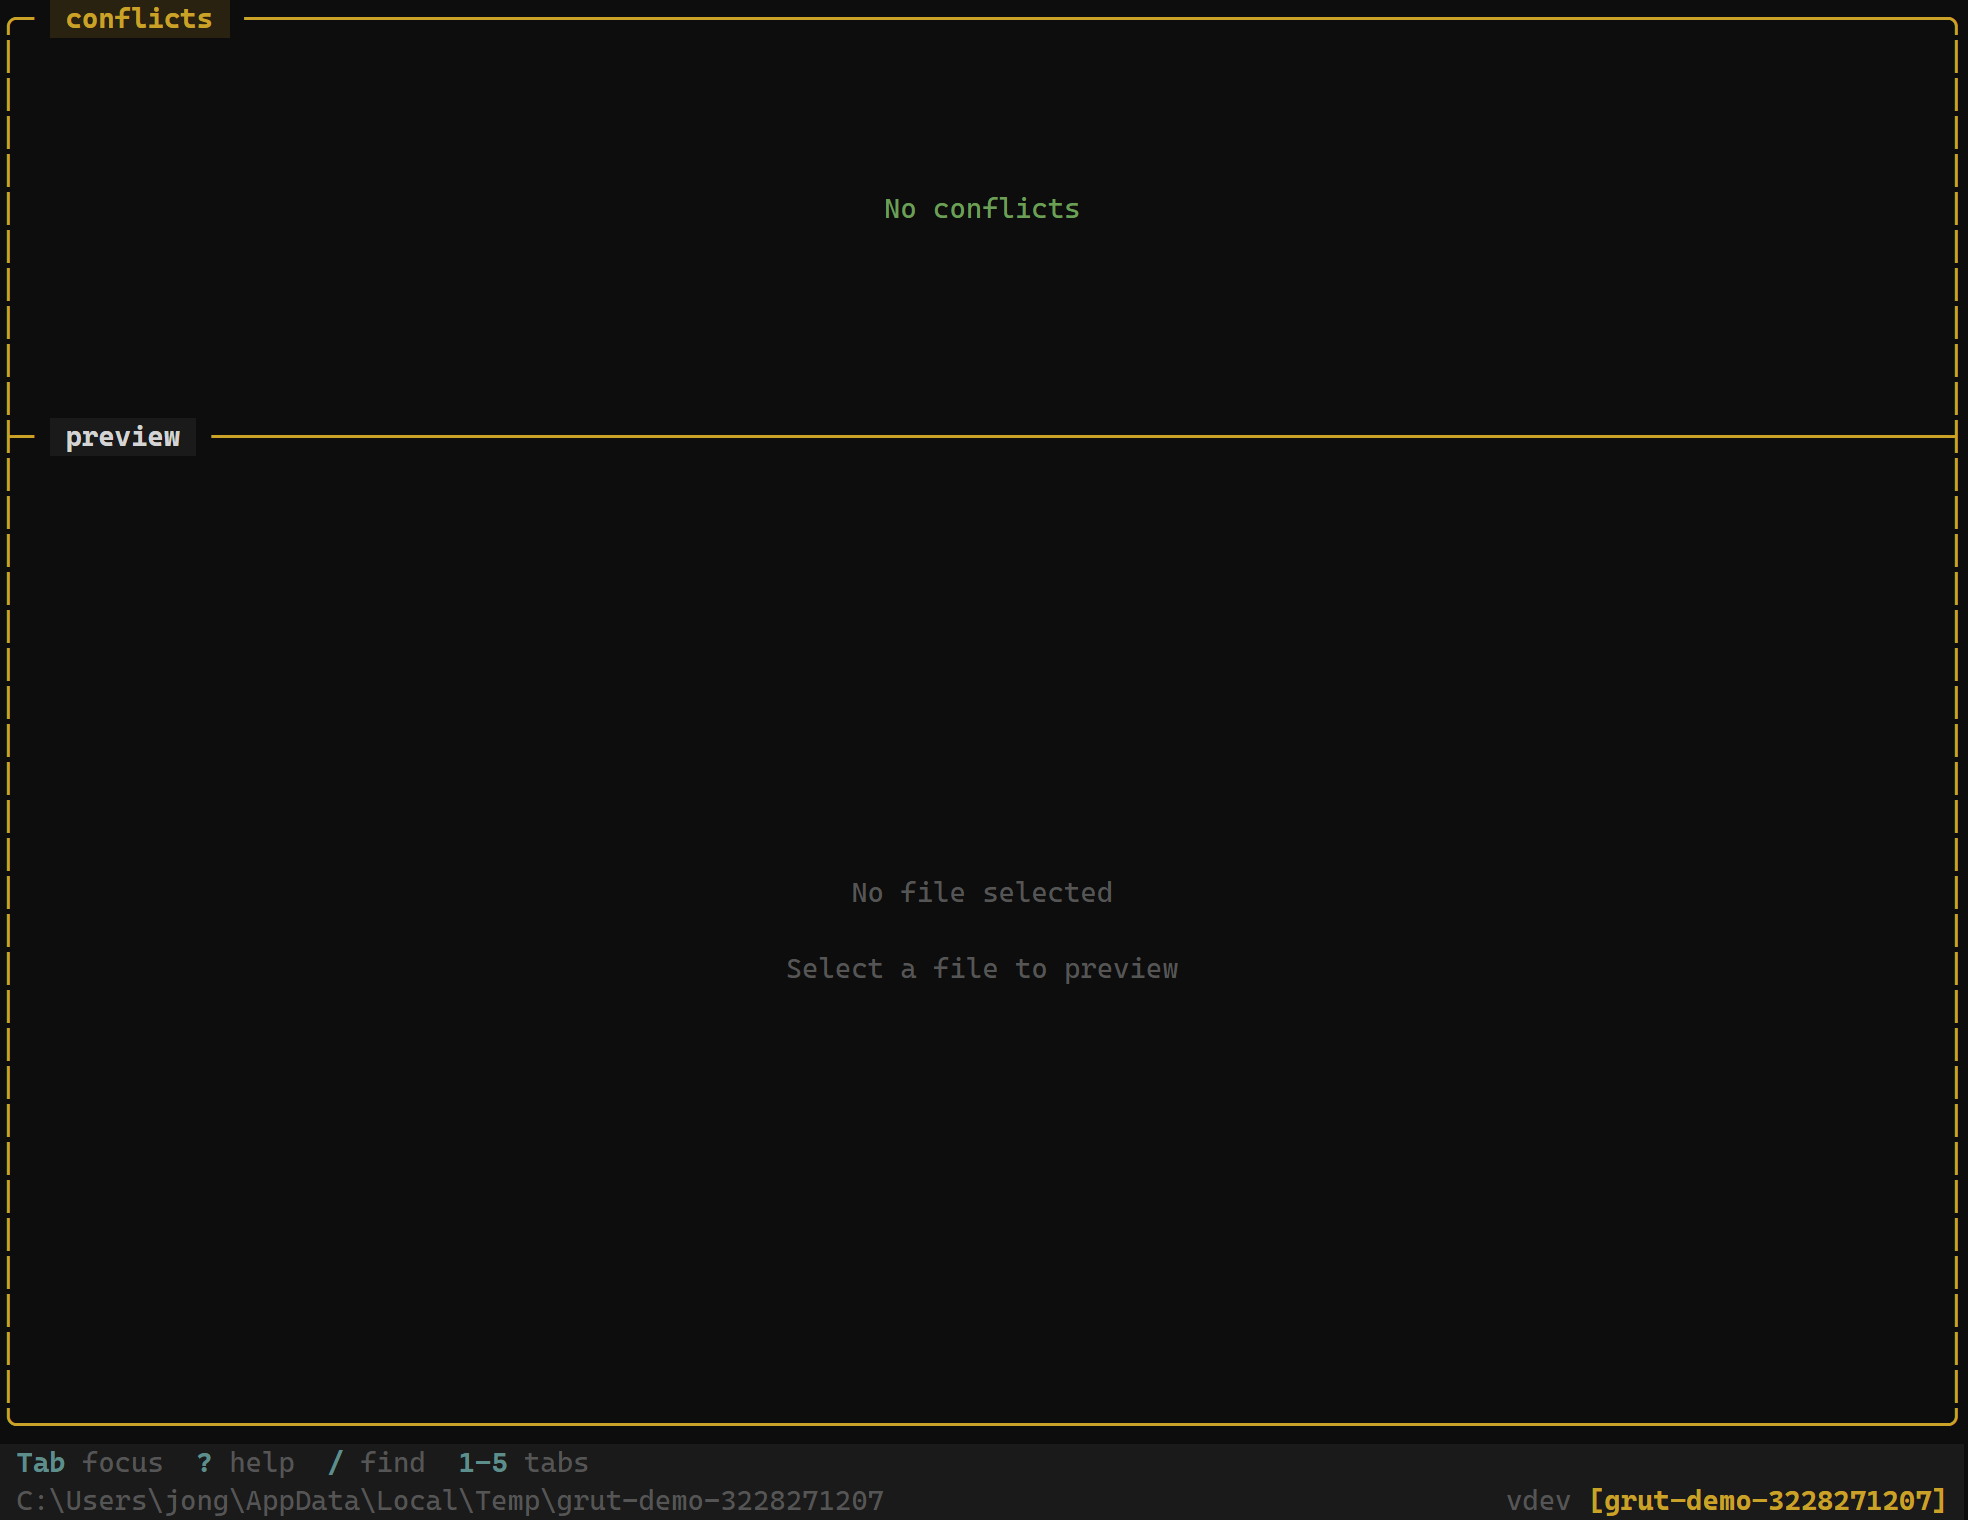
When a merge, rebase, or cherry-pick produces conflicts, grüt switches to a dedicated conflict resolution panel — showing both sides, highlighting differences, and letting you resolve each conflict with a single keypress.
Conflict Detection
grüt automatically detects conflicts after any git operation that can produce
them (merge, rebase, cherry-pick, stash pop). Conflicting files appear in the
status panel with a ✗ conflict marker, and grüt displays a
notification with the number of files in conflict.
Conflict Panel
Select a conflicting file to open the conflict resolution view. The panel shows a two-column layout:
- Left (Ours) — the version from your current branch
- Right (Theirs) — the incoming version from the branch being merged
Conflicting regions are highlighted with distinct colors. Lines that differ between the two sides are emphasized so you can quickly identify what changed.
Resolution Options
For each conflict region, choose a resolution:
| Key | Action |
|---|---|
| o | Accept ours — keep the current branch version |
| t | Accept theirs — take the incoming version |
| b | Accept both — include both versions sequentially |
| e | Manual edit — open in your configured editor |
After choosing a resolution, the conflict marker is removed from that region and the resolved content is shown inline. You can change your decision by pressing a different resolution key before moving on.
Navigation
| Key | Action |
|---|---|
| j | Move to next conflict region |
| k | Move to previous conflict region |
| n | Jump to next conflicting file |
| N | Jump to previous conflicting file |
Completing Resolution
Once all conflicts in a file are resolved, the file's status changes from
✗ to ● (staged). When every conflicting file
has been resolved:
- grüt stages all resolved files automatically
- A prompt asks you to continue the interrupted operation
-
Press Enter to confirm — grüt runs the appropriate
git merge --continue,git rebase --continue, orgit cherry-pick --continue
To abort the operation instead, press q and confirm when
prompted. This runs the corresponding --abort command and
restores your branch to its pre-operation state.
Next Steps
- Git Branches — branch management and merging
- Git Undo & Redo — reverse an operation if needed
- Git Diff — view diffs in detail